The moment has arrived for the tutorial on applying press on nails! Press on nails are a staple for looking fabulous without breaking the bank. They’re affordable, quick, and easy. We’ll share a few brands that make your nails look incredibly realistic. Gel is great and all, but only seems to last only about a week before it chips. In our opinion, press on nails may be superior to gels. You can skip spending $70 on a gel manicure and avoid those frequent salon visits. This tutorial will help you achieve a salon-quality look with press on nails at a much more affordable price!


You can buy these on Ulta or Kiss.
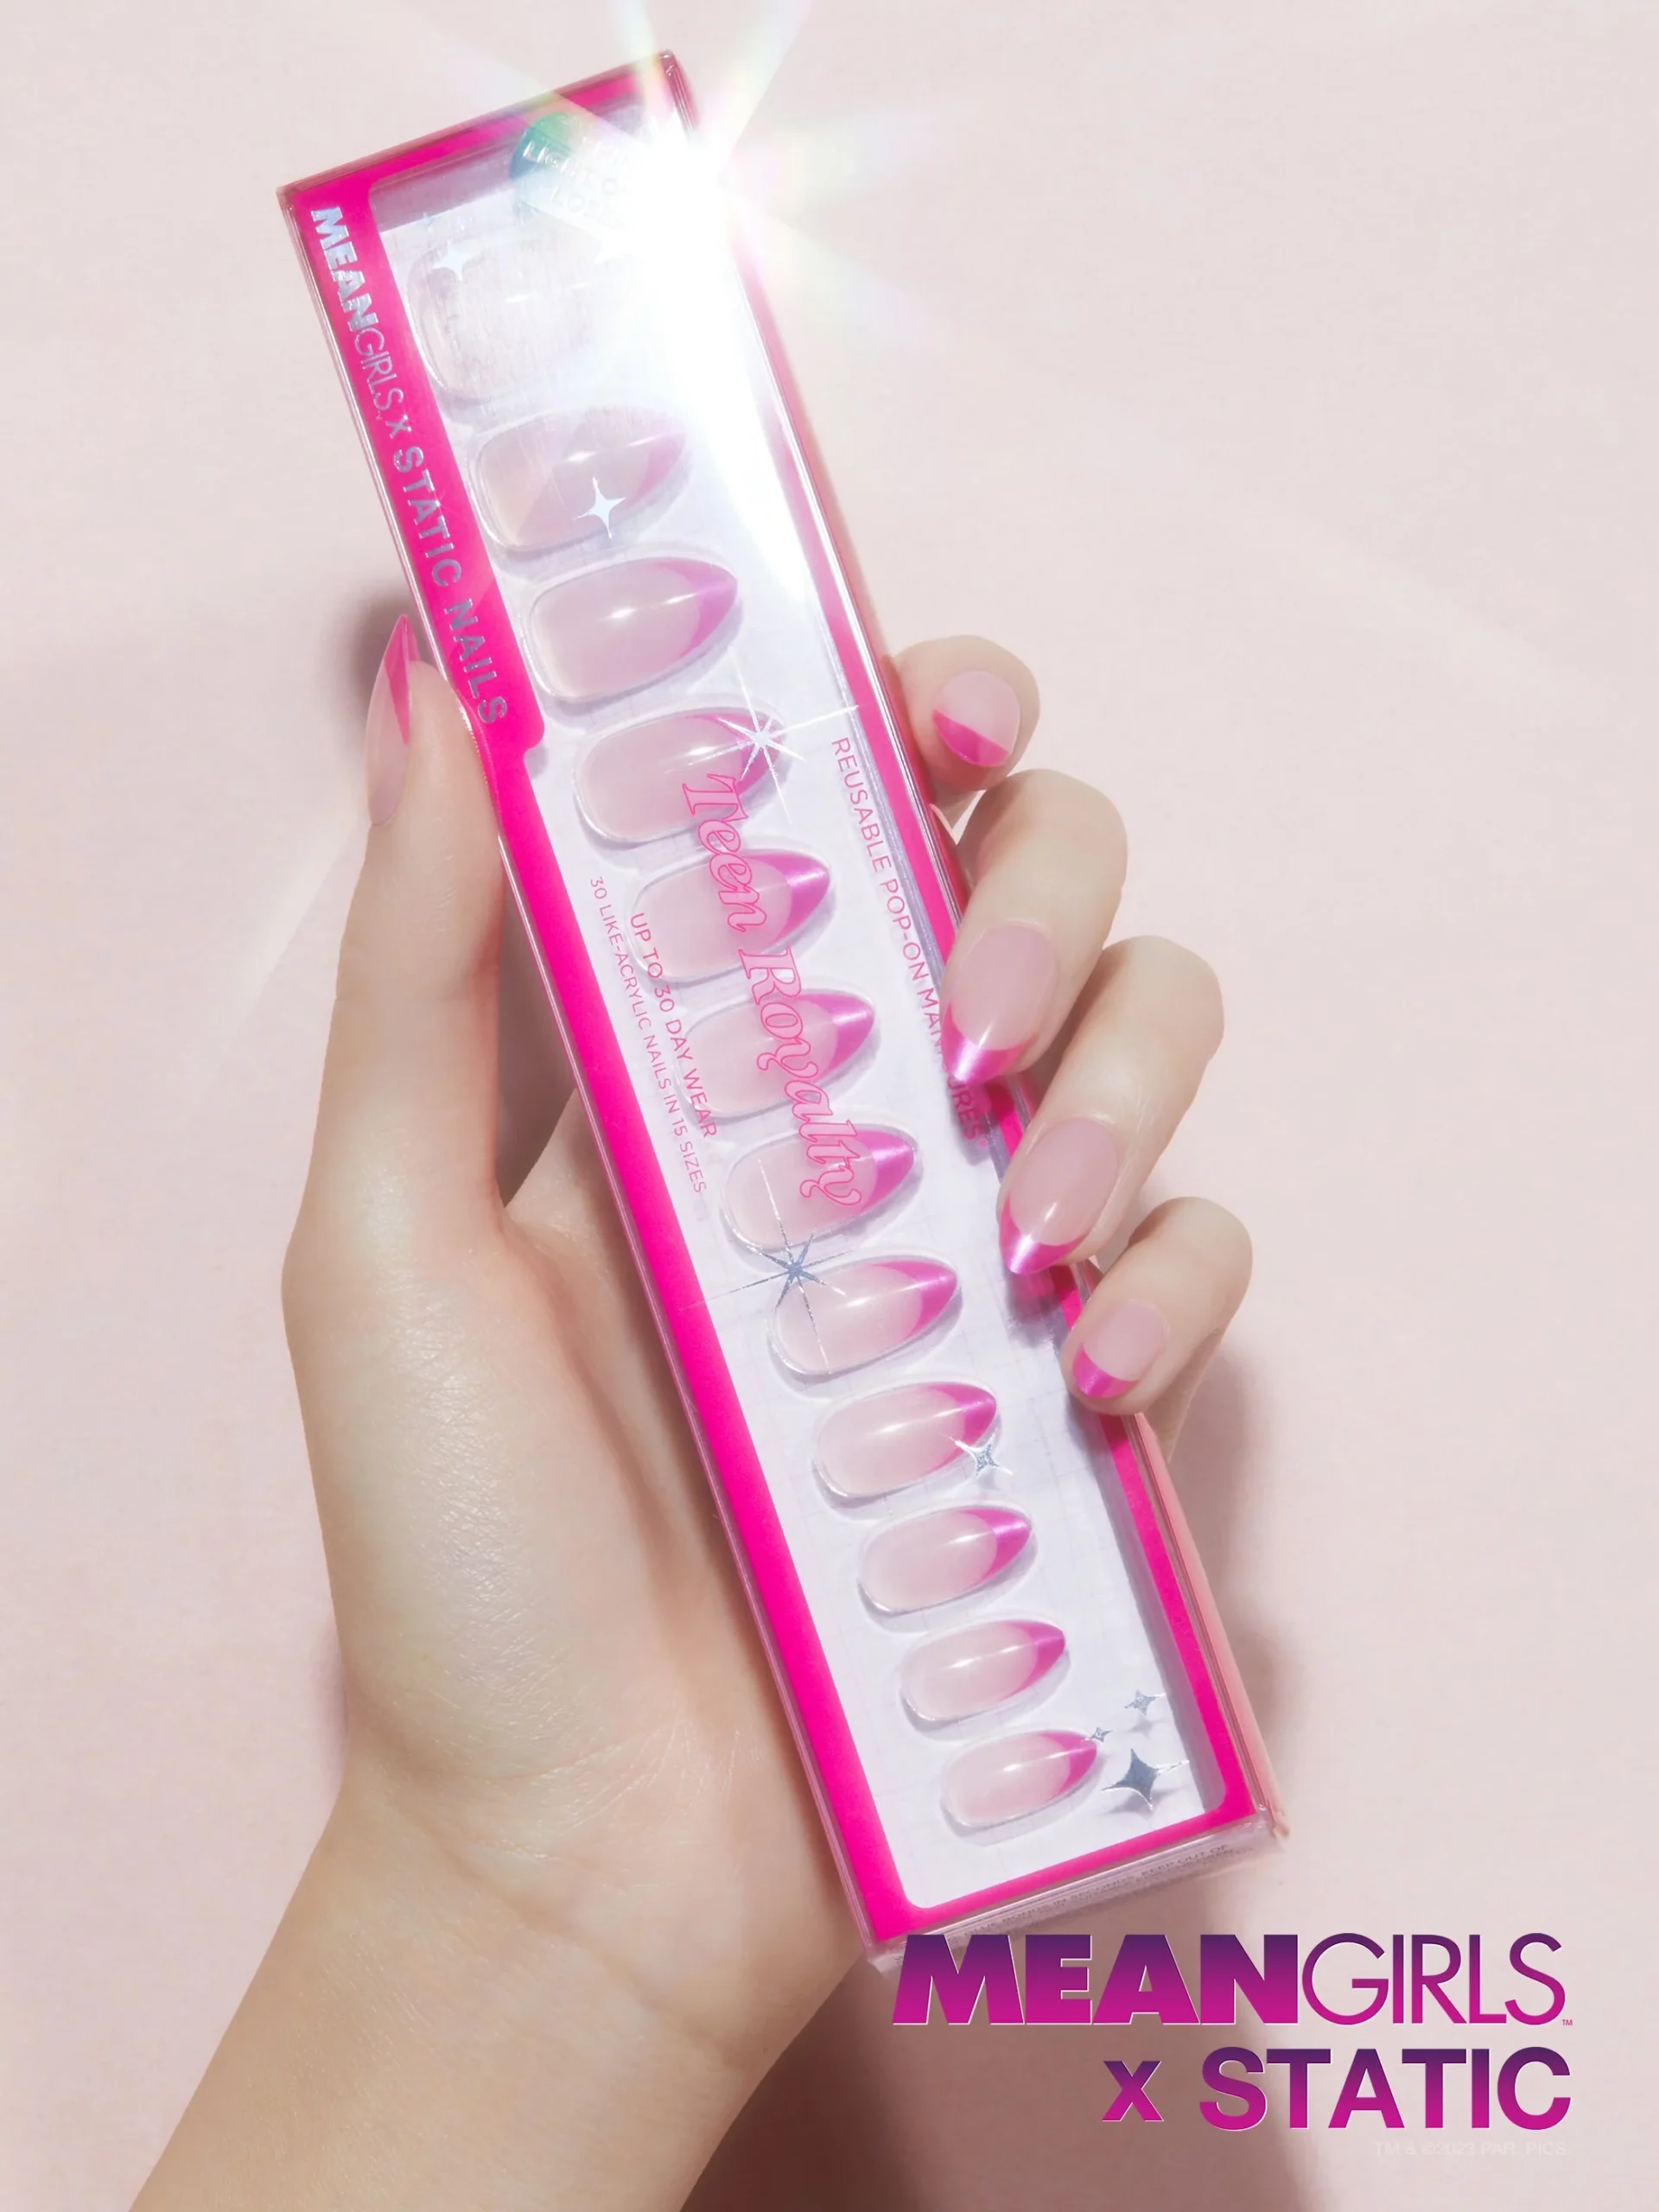
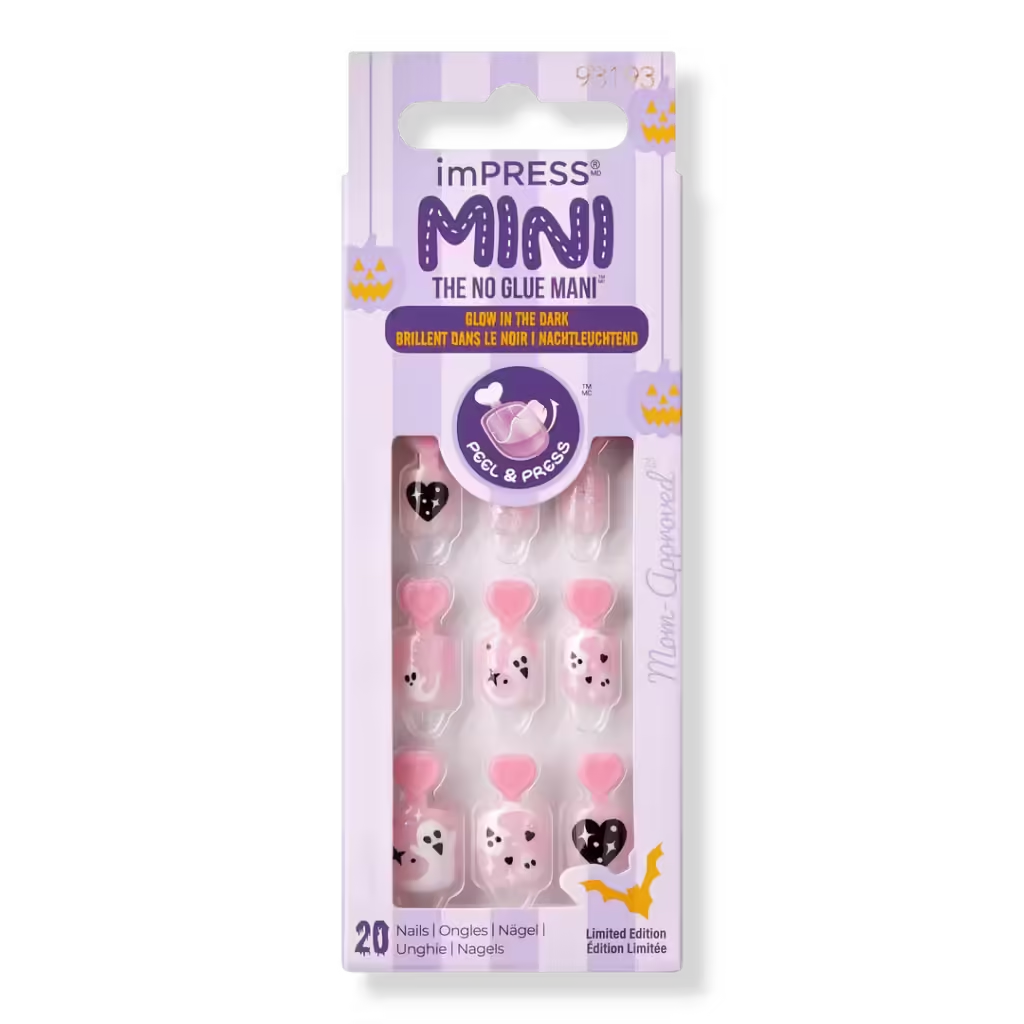
The trending press on brands are imPress, Static Nails, and Kiss Nails. They are everywhere. The Static Nails brand also makes a type called Impress Nails but there are reviews claiming they tend to pop up easier due to the adhesive or hair getting stuck underneath the nail. Try to specifically get the ones without adhesive on them for longer lasting wear. They adhere to the nail better and lay flush to the nail bed which creates a more natural look. Although Static Nails are a bit more pricey, they can be re-worn if popped off the nail correctly.

Obviously, there will be a little bit of damage as you put glue on your nail beds. It is nowhere near the damage experienced when removing gel polish. Your nails won’t be thin and weak after press-on nails and once you file off any excess glue, they are relatively back to normal! You can pop on a new set without any issues, as long as you prep before applying.
Step 1: Prep Your Nails
First things first, prep your natural nails. To start, have the following tools handy:
- Nail Polish Remover
- Cuticle Clippers
- Nail File or Emery Board
- Cuticle Pusher Stick or Wood Cuticle Stick
- Small bowl with warm water
All these tools and this preparatory step aren’t 100% necessary. You can just pop on some nails without prepping if you’re pressed for time. But prep is the key to longer-lasting wear.
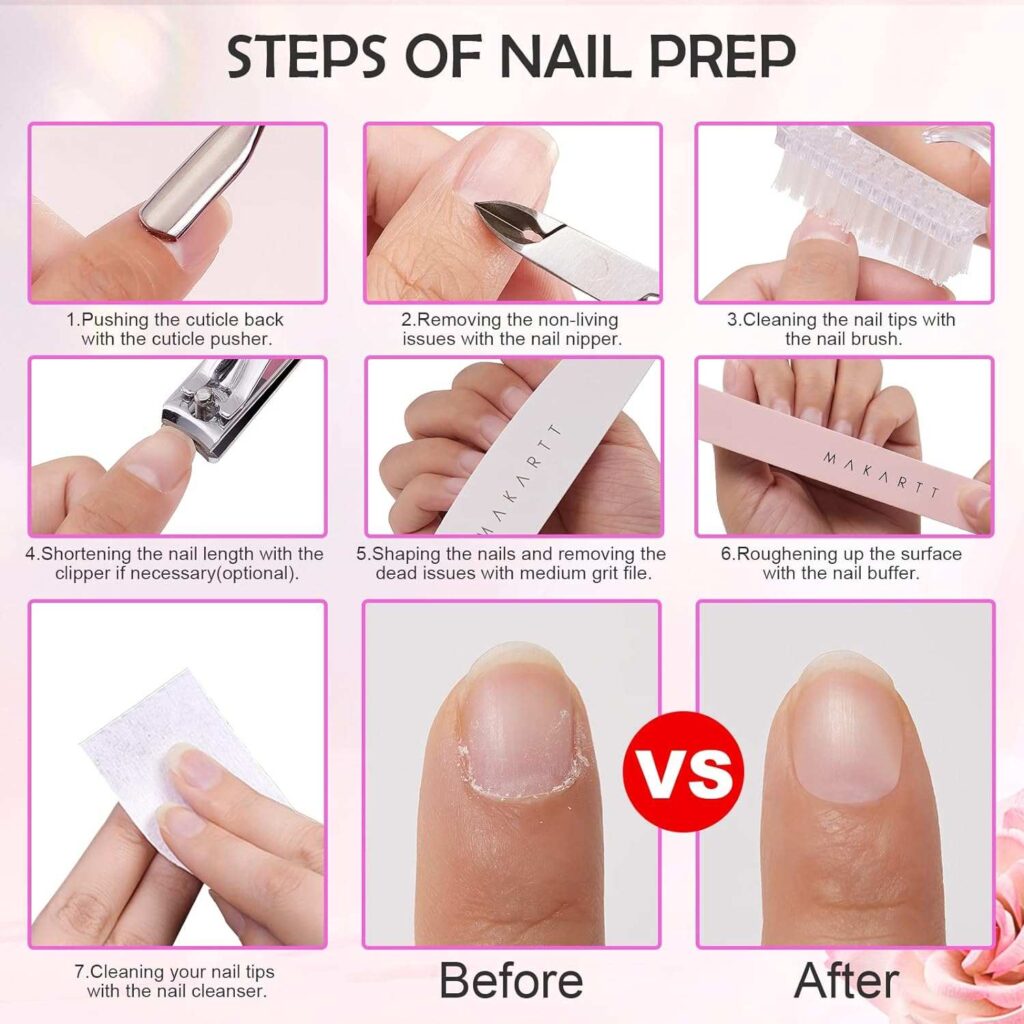
Start by soaking your nails in some warm water for about 3 to 5 minutes to soften up the cuticles. Then push them back using a cuticle pushing stick or a wooden cuticle stick. Next, clip the excess cuticles with a cuticle trimmer. Next, cut or file your nails down to the size and shape you desire and swipe on some nail polish remover to clear off any additional oils left on each nail bed. That’s it! Your nails are prepped and ready to go.
Step 2: Choose Your Press on Sizes
Press-on nail kits come in various shapes and sizes to fit different nail beds. The trick is to find press-on nail sizes that are just a fraction smaller than your natural nail bed. In the pics below, you can see the difference between a good-sized nail on the left and an oversized nail on the right.
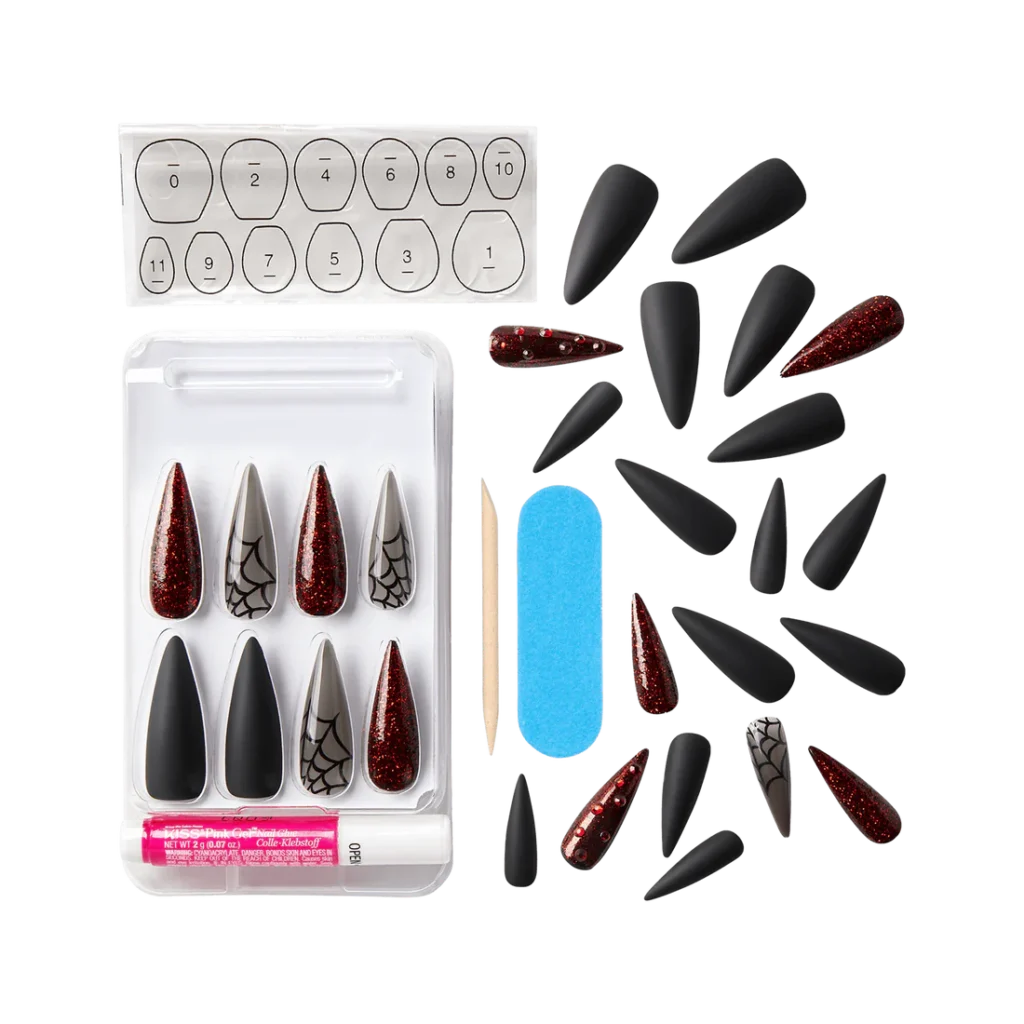
Pro Tip: most press on nail kits have teeny tiny numbers printed on the under side of the nail with the size written out on it. You can use this as a guide when finding the right fit for your left and right hand. Sometimes they don’t match between both hands exactly since each finger can be a little different but it’s a good way to get close to the right size for each side.

Step 3: Apply Press on Nails
It’s time to apply the press-on nail once your nail sizes are picked and set in order. Use the glue from the nail kit and apply a small drop on the press-on nail and your natural nail. Next, hold the nail straight and lay it on your natural nail bed right under your cuticle line. You do not want the press-on nail to be glued directly onto your cuticles!
Once you have everything aligned, press gently and hold the nail down to your nail bed for 10-20 seconds until it is firmly in place. Then use a cotton pad to clear off any excess glue around the sides of the nail. Pull your finger pad back a bit while the glue is drying to make sure it doesn’t get glued to the nail. It’s such a pain (literally and figuratively) to pull it apart once the glue dries. Continue this process for the rest of your fingers until they are all complete.
Step 4: Clean Up!
Once all the press-on nails are in place, you should clean up around the nail for a more natural look. File them a bit so they match the natural shape of your nails when applying short press-on nails. Then remove any excess glue under the nails or the surrounding area with a cuticle trimmer.
Wash your hands and you are set! Press-on sets, especially Static Nails, last 12-14 days without problems. If something happens and a nail does pop off, simply file down the old glue on your natural nail and glue it right back on.

Tired of your set and want to switch to a new design? Here is a quick and easy removal process for you. In just three simple steps, you can remove your press-on nail set to swap it for a new one. If you enjoyed reading this tutorial, check out our Halloween-inspired makeup tutorials below!
Leave a Reply